
This is a quick guide to installing Postgres on OSX (10.9.4 Mavericks) using Docker + Kinematic. This is from an absolute Docker novice – and I managed to get it all up and running from scratch in under 30 minutes.
I recently picked up a dev project I had been working on locally again – which was set up to use a local Postgres database (via Java + JPA/Hibernate). When I checked it out – I realised that I didn’t have Postgres installed locally any more on this machine.
I immediately went to download the standard installer, but then thought there must be a better way to do this. I could try out Homebrew/MacPorts, but I wondered if this was a good opportunity to use Docker instead (after hearing so much about recently – and the fact it had got so much coverage at JAXLondon).
Checking out the website – the new Docker Toolbox looked like an great way to get started – with a simple step-by-step set of instructions.
Step 1 – Installing Docker Toolbox
- Basically – follow the instructions here.
- Download the Docker Toolbox installer and run through the installation steps
- After installing – you will have 2 new applications installed

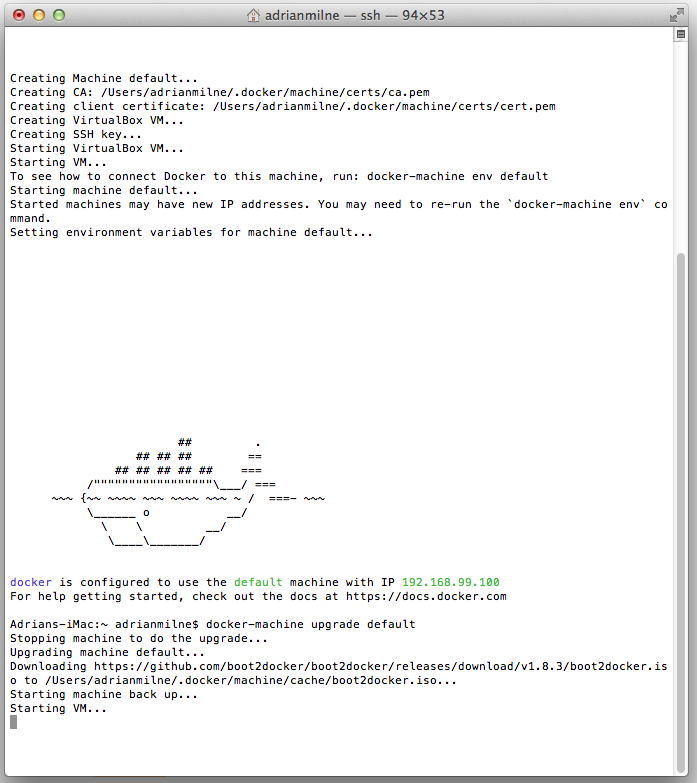
Step 2 – Create the ‘default’ Docker machine
- Open the Docker Quickstart Terminal – this will create a VM called ‘default’ and start it up (see below – I also ran ‘docker-machine upgrade default’)
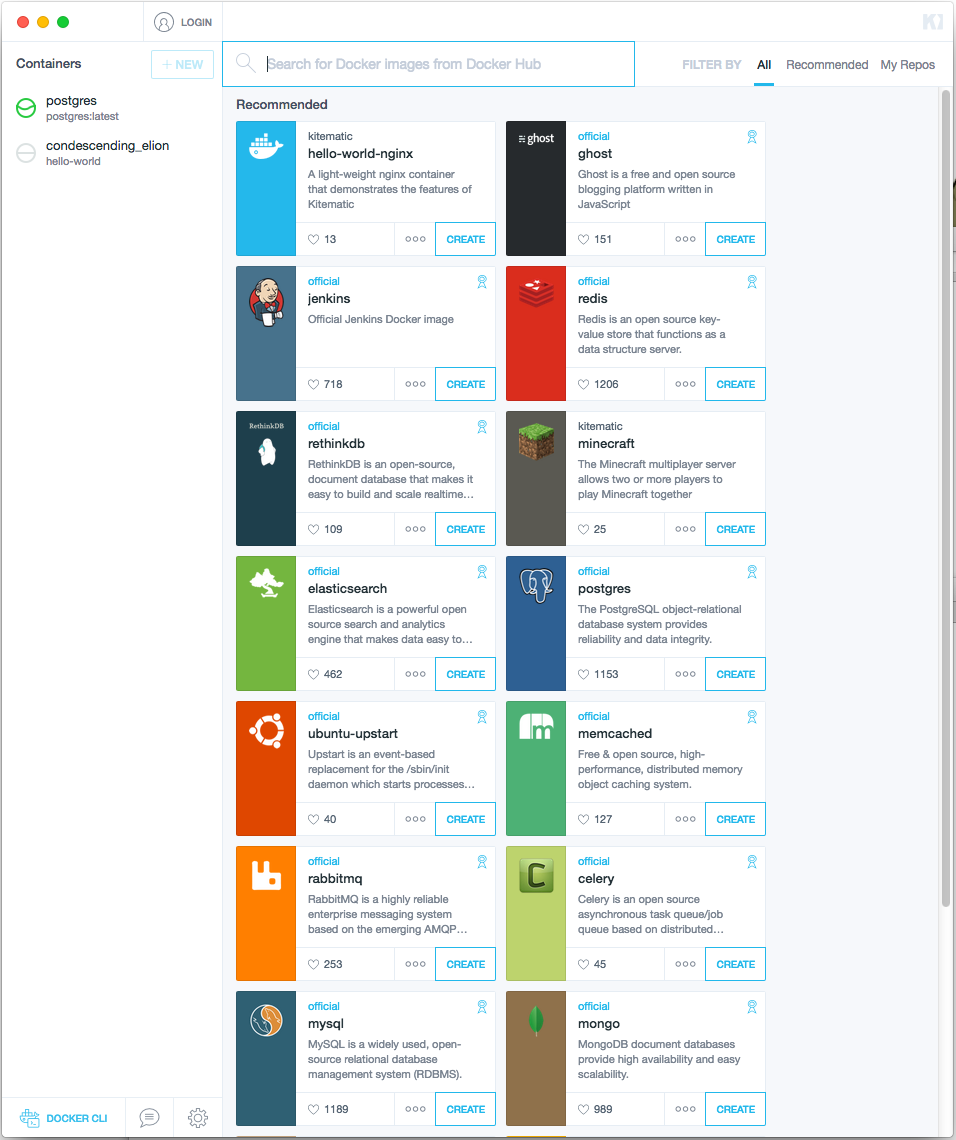
Step 3 – Create a new Postgres Container Using Kinematic
- Open up the Kinematic app
- You will see a list of available containers like the screenshot below – click ‘CREATE’ on the Postgres option
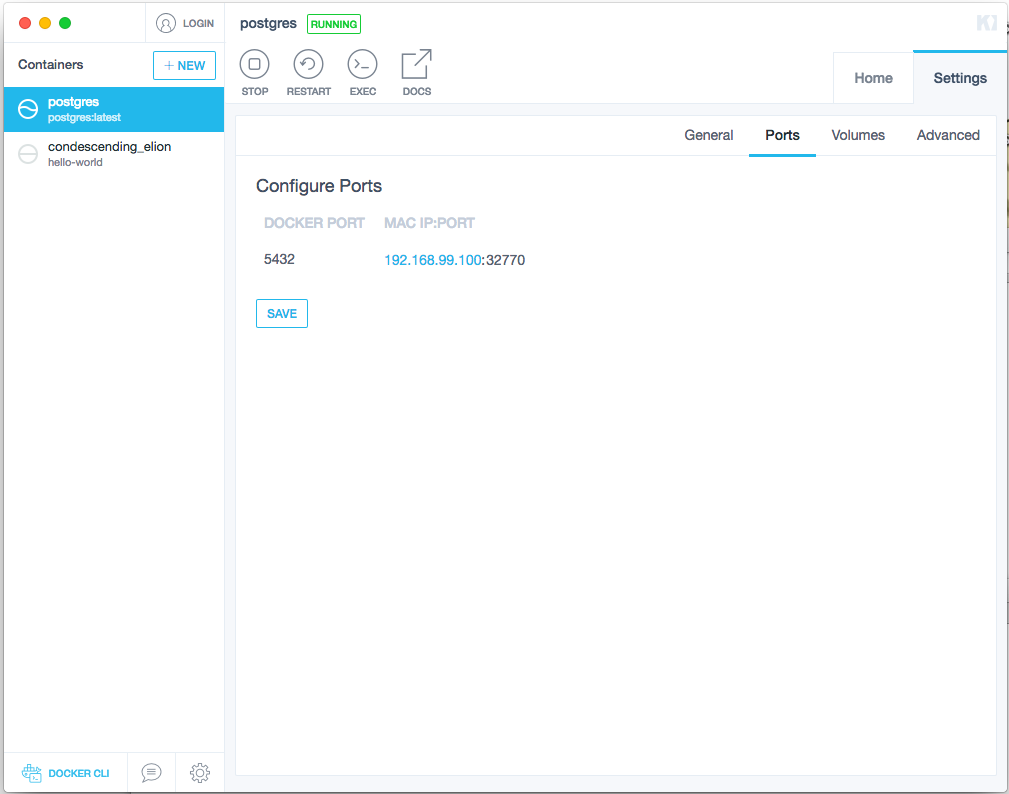
- This will create and start up a new Postgres container – like below.
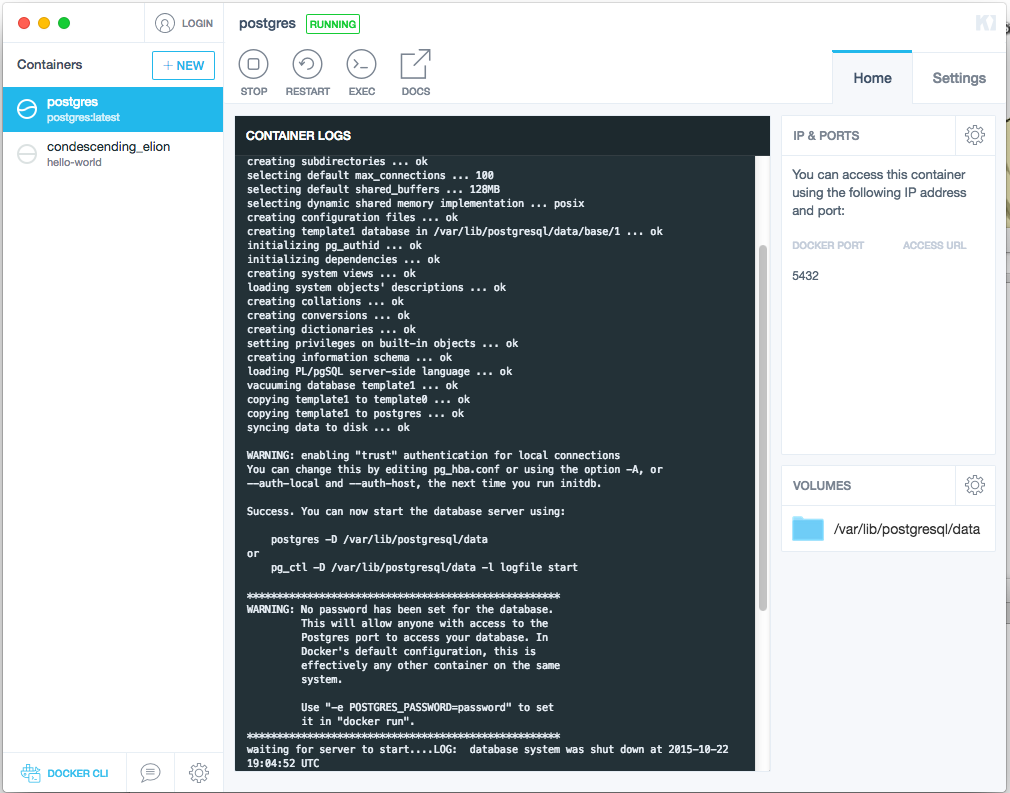
- You can see the ‘DOCKER PORT’ is set to 5432 (the standard Postgres port). You need to know what port and IP Postgres will be available on to your local machine – click on the settings ‘cog’ icon next to ‘IP & PORTS’ in the top right. That will open the screen below – as you can see Postgres is available on ‘192.168.99.100:32770’
Step 4 – Connect to the Database
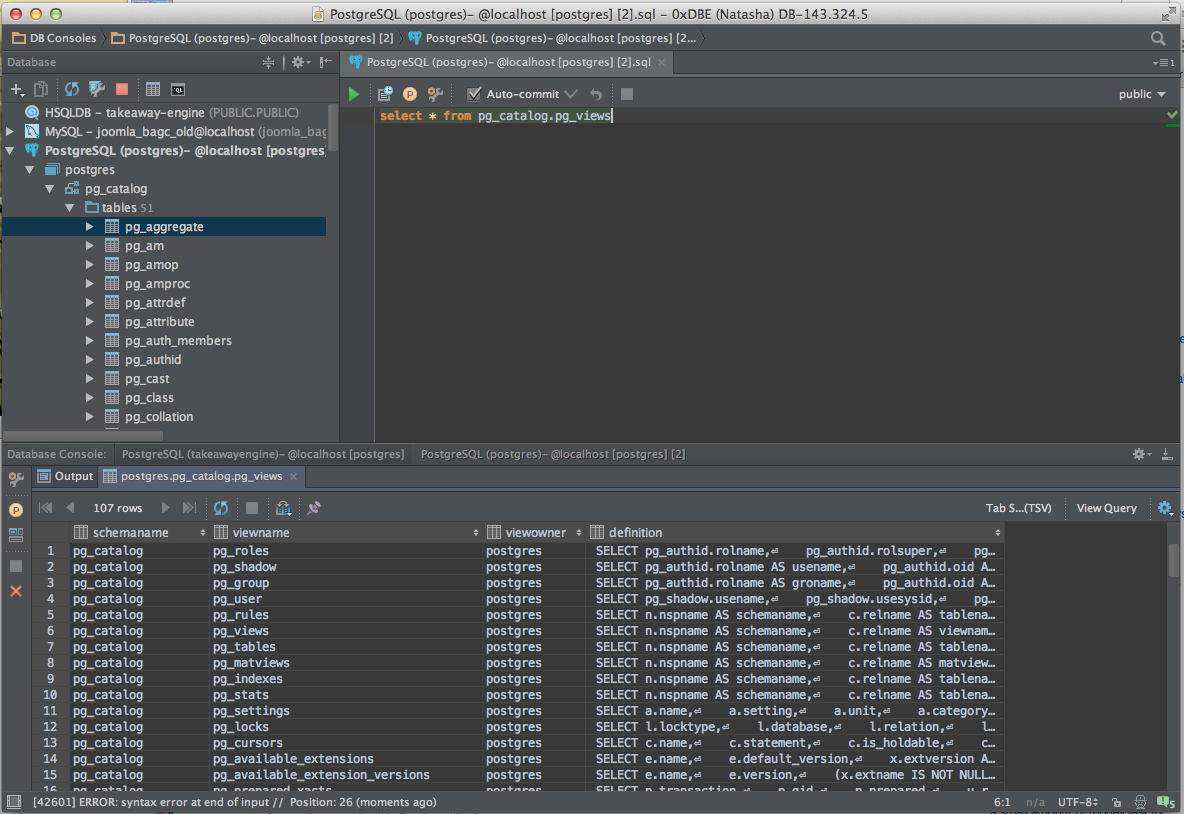
- I used JetBrains 0xDBE client to check the connection.
- I created a new Postgres connection using ‘192.168.99.100:32770’ and the default ‘postgres’ user (no password – obviously you can create your own user in Postgres once up and running)
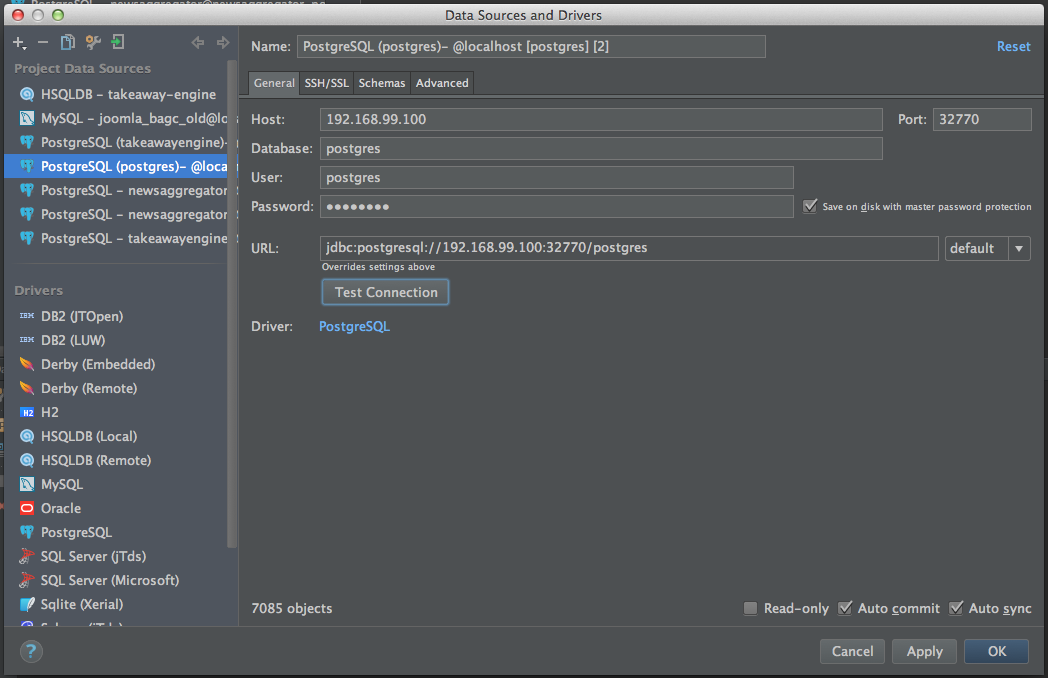
- Connection was fine – ready to create a new database, and set the connection string in my Java app and let JPA/Hibernate spin up and do its thing!
- (I did hit one error – the solution was to remove and reinstall the Postgres drivers from the IDE – in properties – just click the ‘-‘ to remove the jar, and let it pull them down again – this was probably just an issue with my IDE being out of date though rather than anything else).
Conclusions
- This was the first time I’ve ever used Docker/containers. I’m totally impressed so far (and especially with Kinematic – great for a total novice like me to get up and running).
- Definitely need to dive deeper and learn more. Aside from playing around with dev servers locally more, I’ll be looking at using it to replace my current Apache install on AWS/EC2 next.